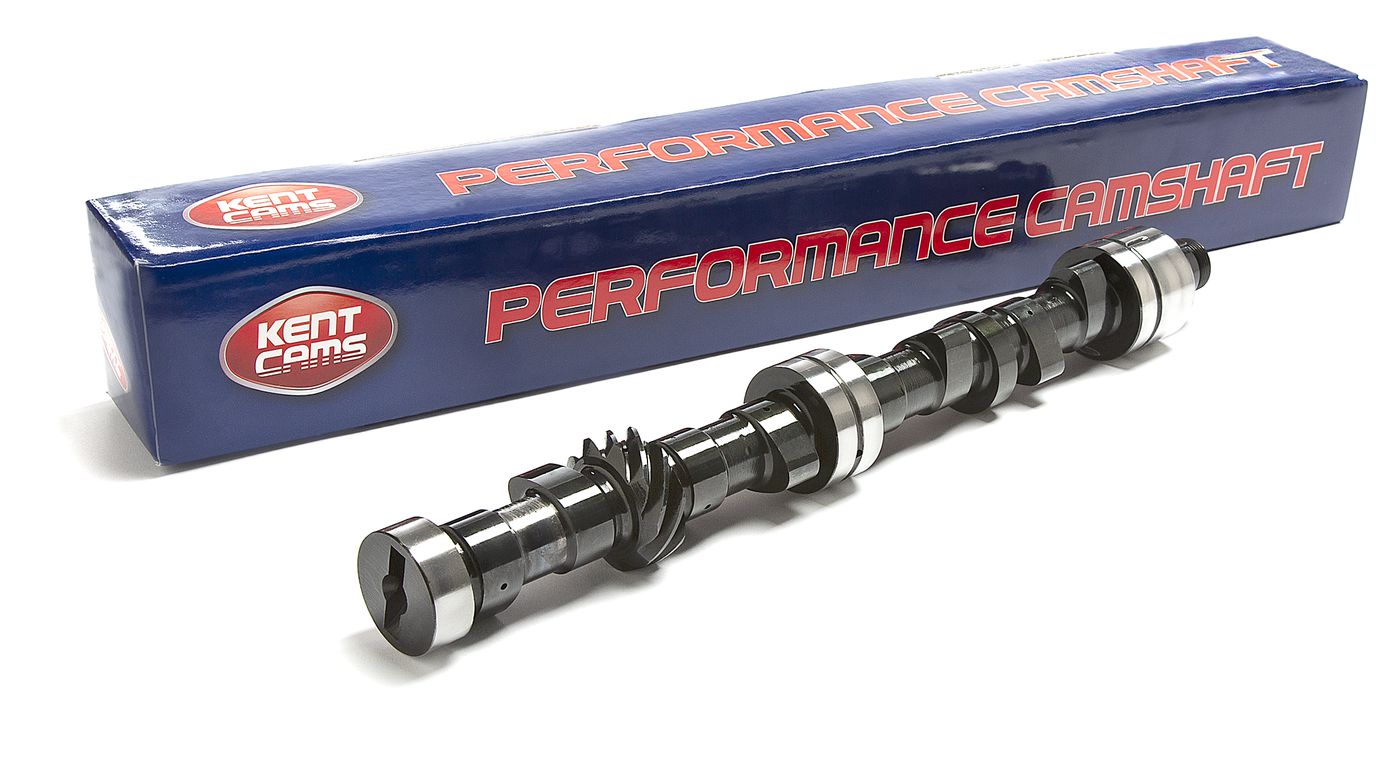
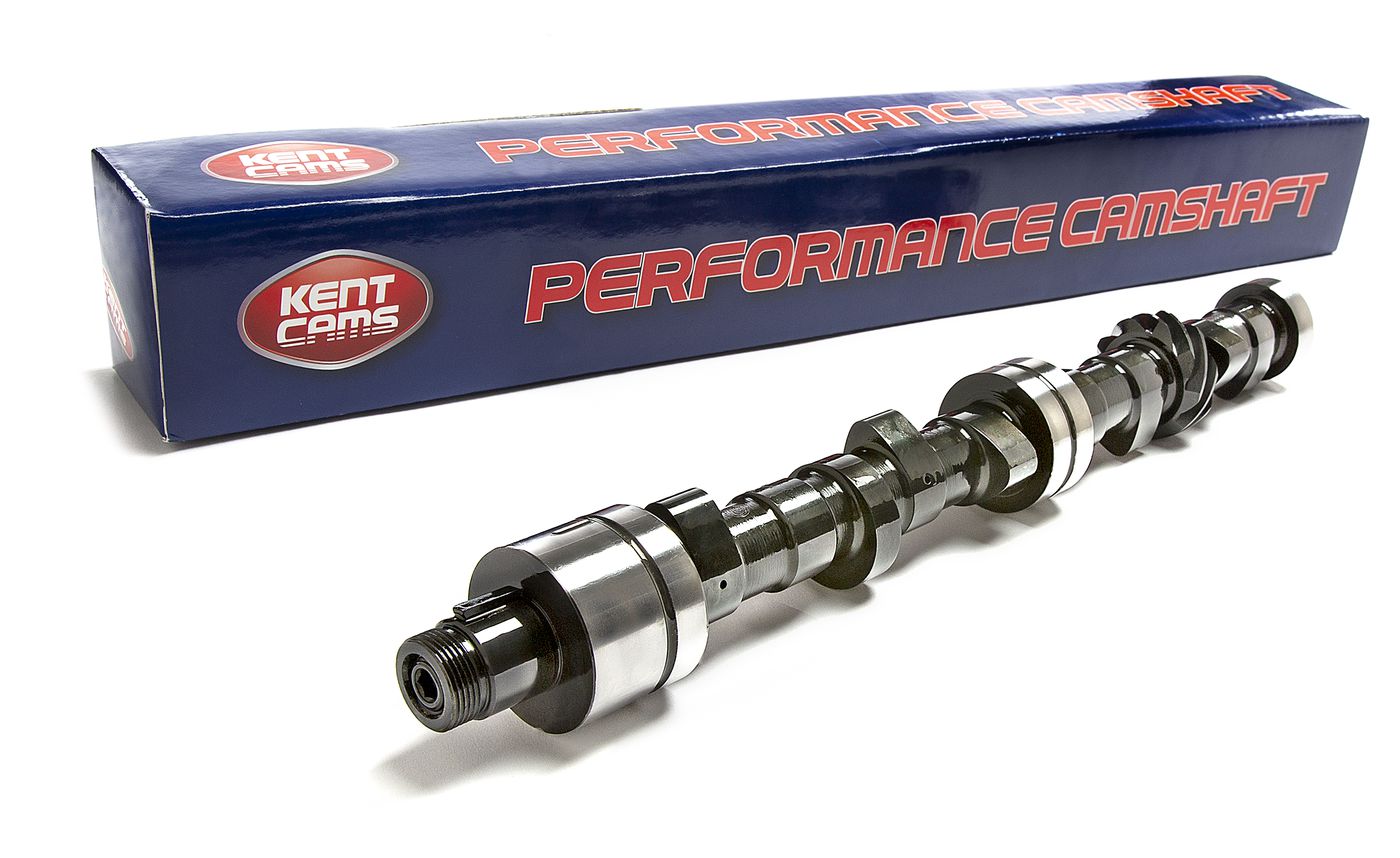
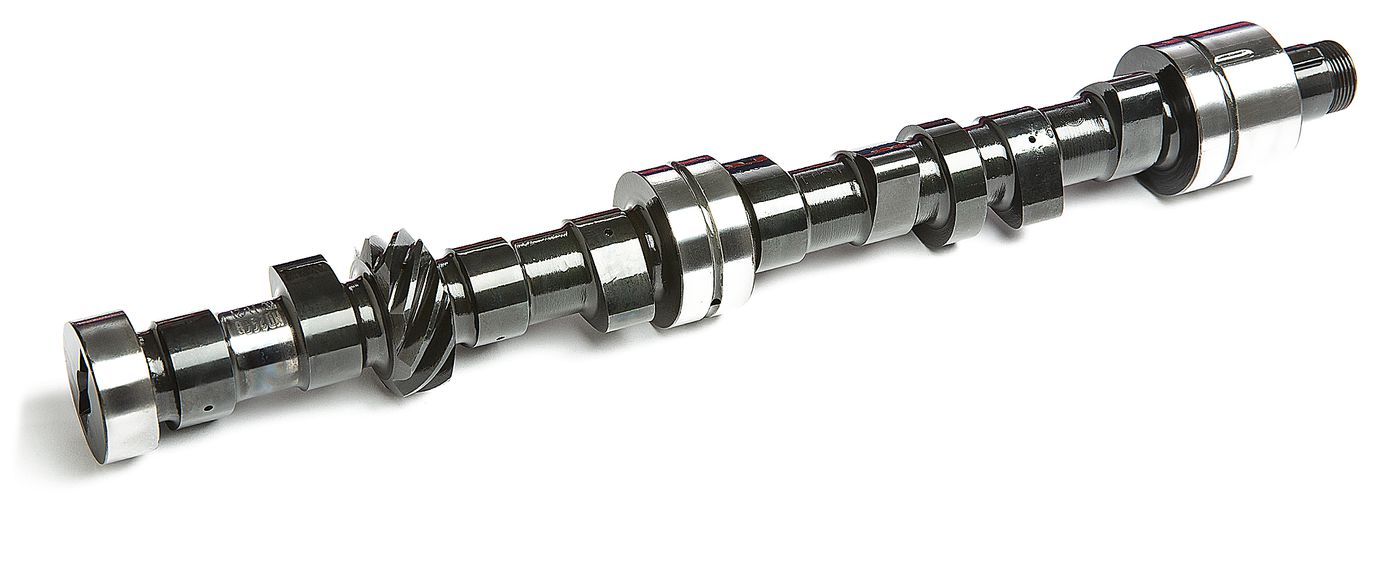
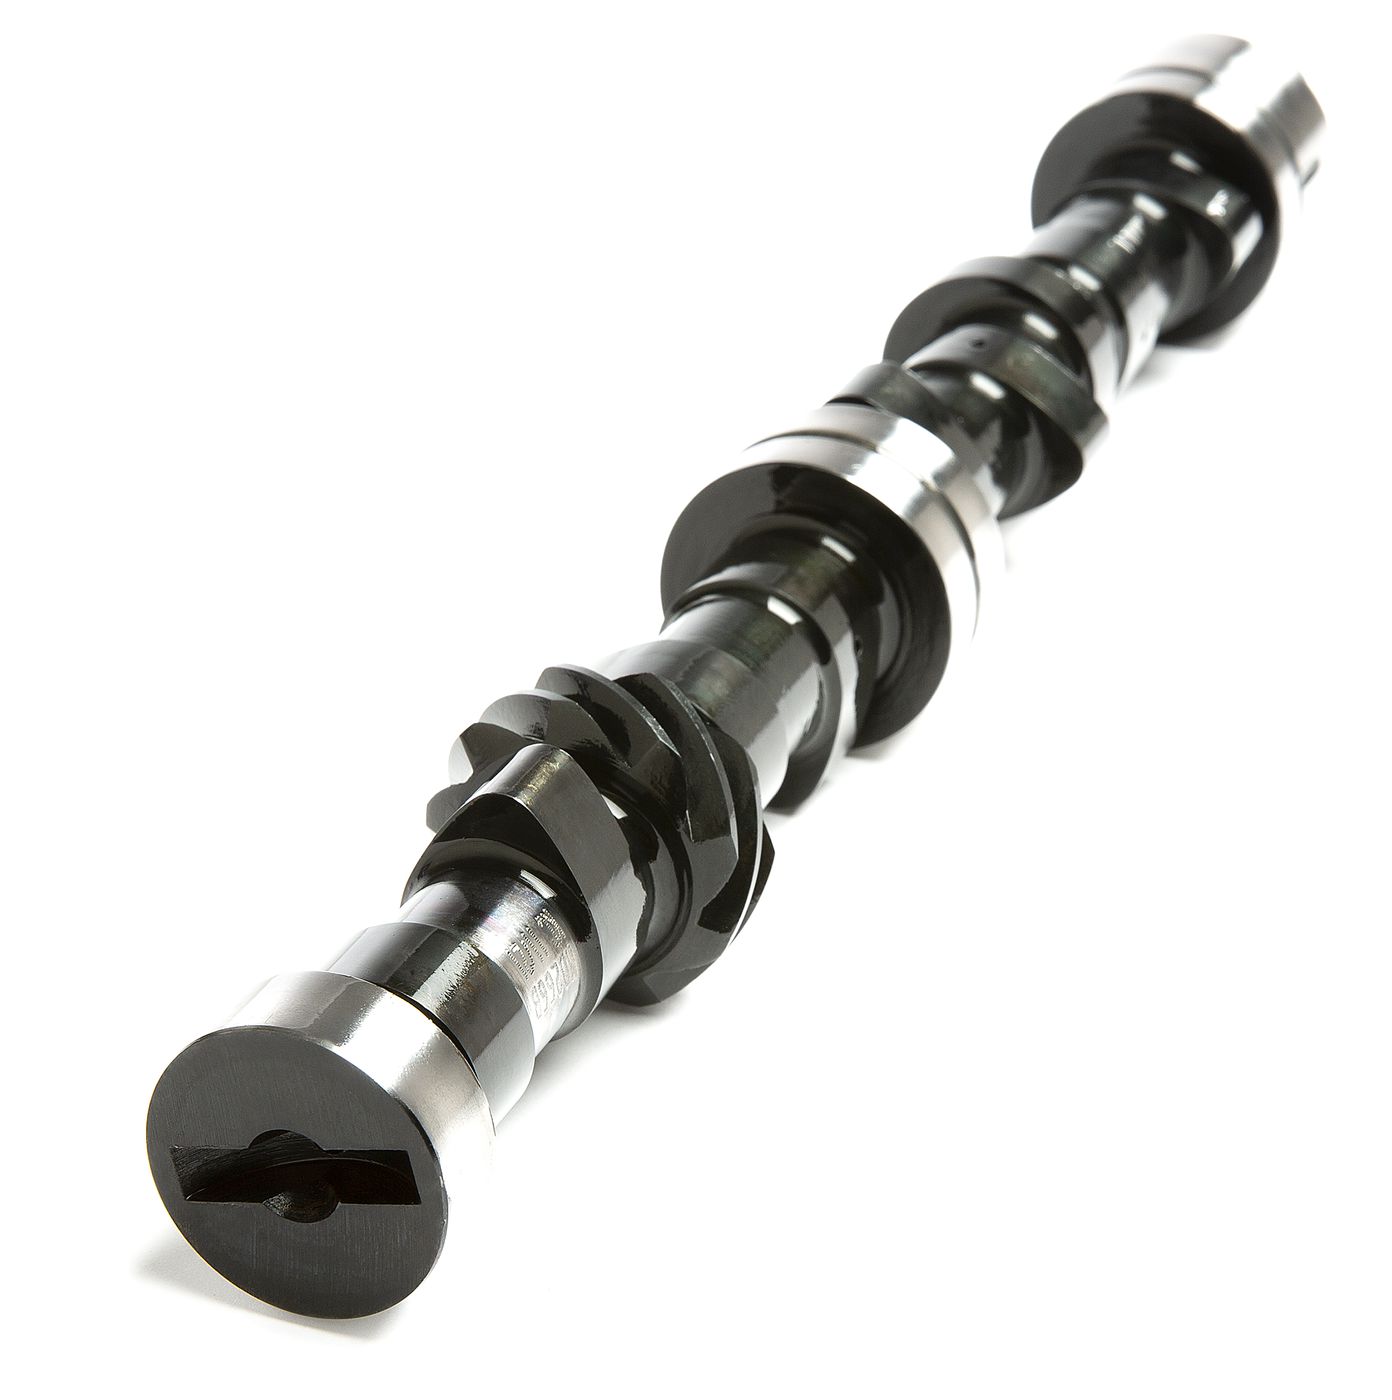
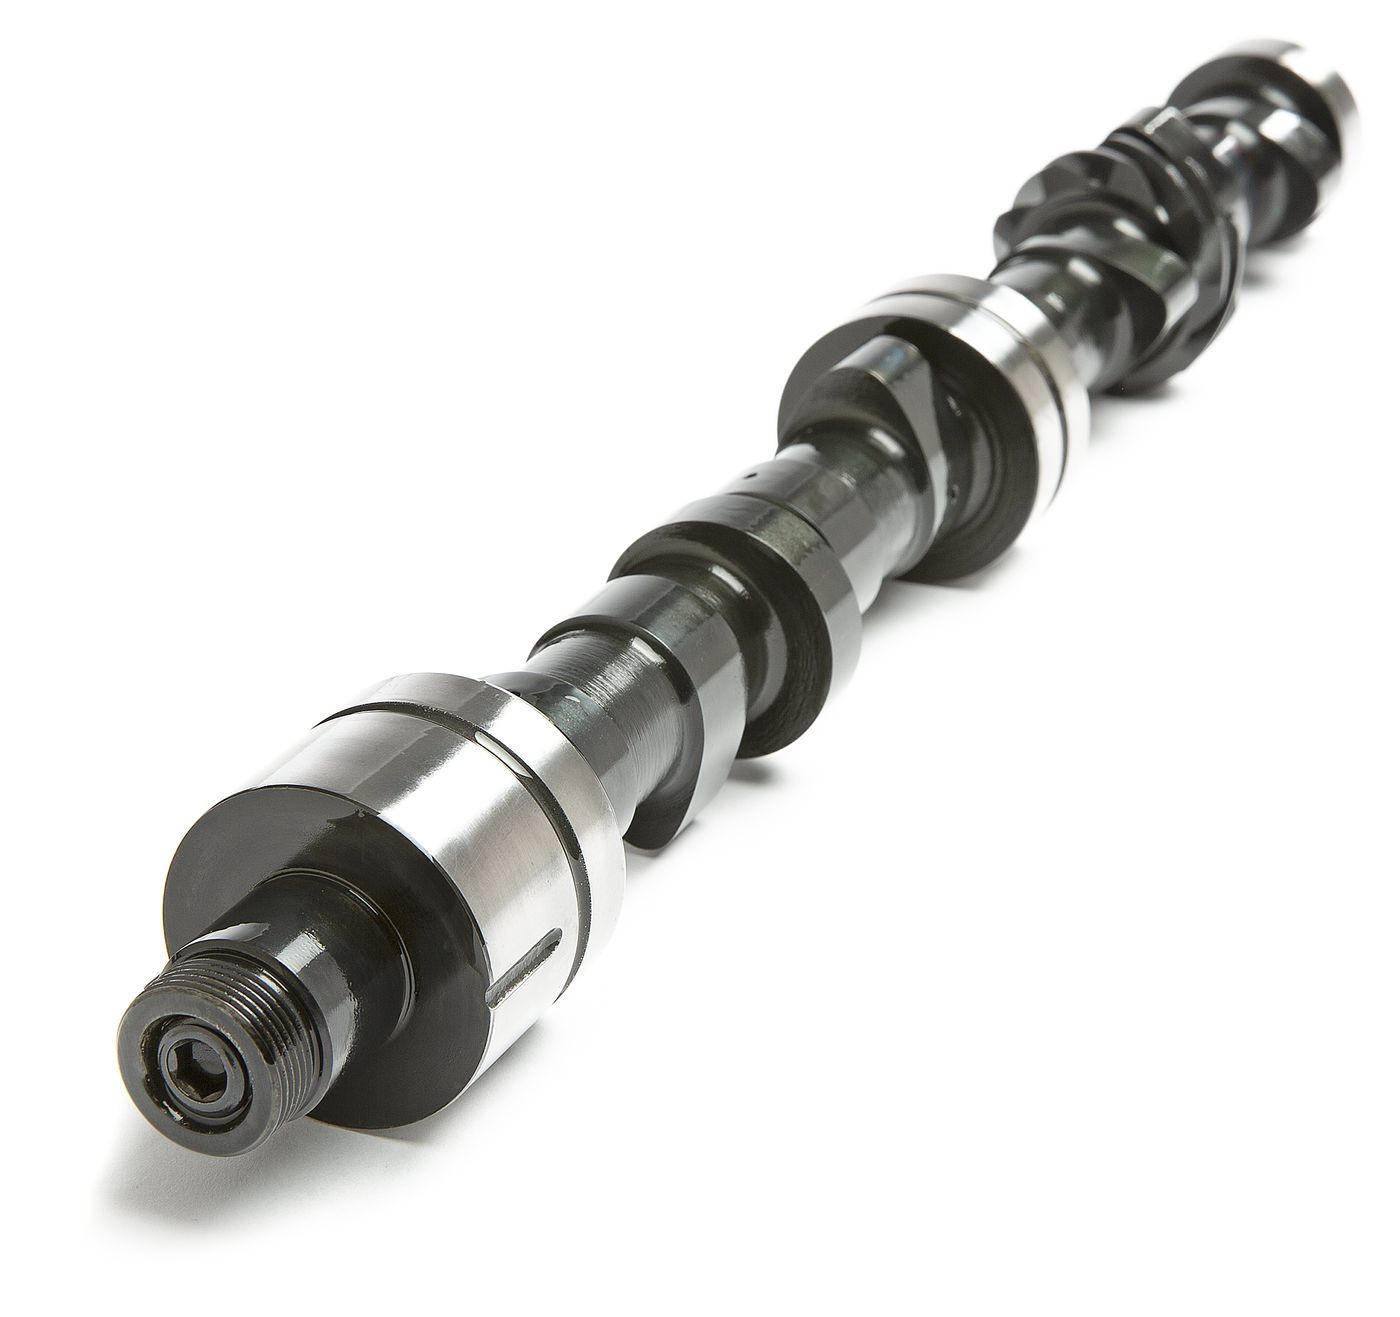
Kent Cams Árbol de levas
new item - 266°, slot drive, Power band 1000 to 6500 rmp, valve timing 24/56 and 61/29, 260°/270°, cam lift 0.263"/0.270"
The Kent Cams commitment to accurate grinding has led them to be the only manufacturer to pursue constant surface speed grinding. Complex calculations within their CNC software and high accuracy spindles vary the speed of the camshaft during each rotation in the grinding process.
This means that the work piece to grinding wheel contact speed remains constant. This ensures the surface structure integrity of every lobe has not been compromised by changes in the grinding speed that are inherent in modern high acceleration cam profiles.
Basic fitting rules:
The installation and first few moments of running are critical factors in the life of the camshaft and the following instructions have been devised in order to obtain maximum performance from the engine and to ensure a long and trouble free life from both the camshaft and associated components. These points are designed to be used in conjunction with the original manufacturers installation procedure.
1. Before fitting the camshaft check that it is identical in every respect (EXCEPT FOR LOBE PROFILES) to the one being replaced. Special attention should be given to the oil feed details and journal diameters as variations between camshafts may occur during the manufacture of the engine.
2. Liberally coat both the camshaft and cam followers with cam lube before installation. Failure to do so can cause scuffing between the surface of the cam and the cam followers which will cause premature wear.
3. It is essential that NEW Cam followers are fitted. Failure to do so on certain engines will produce premature cam/follower failure.
4. Upon installation the valve springs must be checked to ensure that coil binding does not exist at maximum lift. There must be a minimum clearance of 1mm between the valve spring coils.
5. When using valve springs ensure that they fitted at the correct installed height. It is important to ensure that the valve spring fits the retaining cap correctly and in some instances the cylinder head may need machining.
6. Once the valve springs have been installed check both inner and outer springs for coil binding and ensure that the bottom face of the spring retaining cap does not contact the top of the valve guide or valve stem oil seal. Minimum clearance on full lift is .060. (1.5mm). If this clearance cannot be achieved the top of the guide may need to be modified.
7. When replacing the camshaft ensure only high quality engine oil is used (check that it is the correct grade) and the oil filter is replaced.
8. After having timed in the camshaft check that there is no valve to piston contact. The minimum clearance between the piston and the valve should be 1.5mm. In multi-cam engines ensure there is no valve to valve contact.
9. Before starting the engine, turn the engine over by hand to ensure that it rotates freely, prime the oil system, and check that everything is set to ensure the engine starts straight away.
10. Do not turn the engine over on the starter over for an excessive length of time. Once the engine is running do not allow it to idle for the first twenty minutes, and keep the revs to a minimum of 2000rpm in order to ensure adequate supply of lubrication for both the cam and followers.
Counterpart
